Posts for: #Hardware

Vortex Core Keyboard Review

Vortex Core Keyboard Review

I’ve had my eye on the Vortex Core keyboard for a few months now, and this past week I finally broke down and bought one (with Cherry MX Brown switches). The Vortex Core is a 40% keyboard, which means it consists primarily of letter keys, a few lonely bits of punctuation, and several modifier keys to activate different layers on the keyboard.

Physical impressions

It’s a really cute keyboard. I’m a big fan of MX brown switches, and this keyboard is really a joy to type on, at least when you’re working primarily with the alpha keys. I’m still figuring out where some of the punctuation is, and with a few exceptions I haven’t yet spent time trying to remap things into more convenient positions.

[read more]

Multiple 1-Wire Buses on the Raspberry Pi

Multiple 1-Wire Buses on the Raspberry Pi

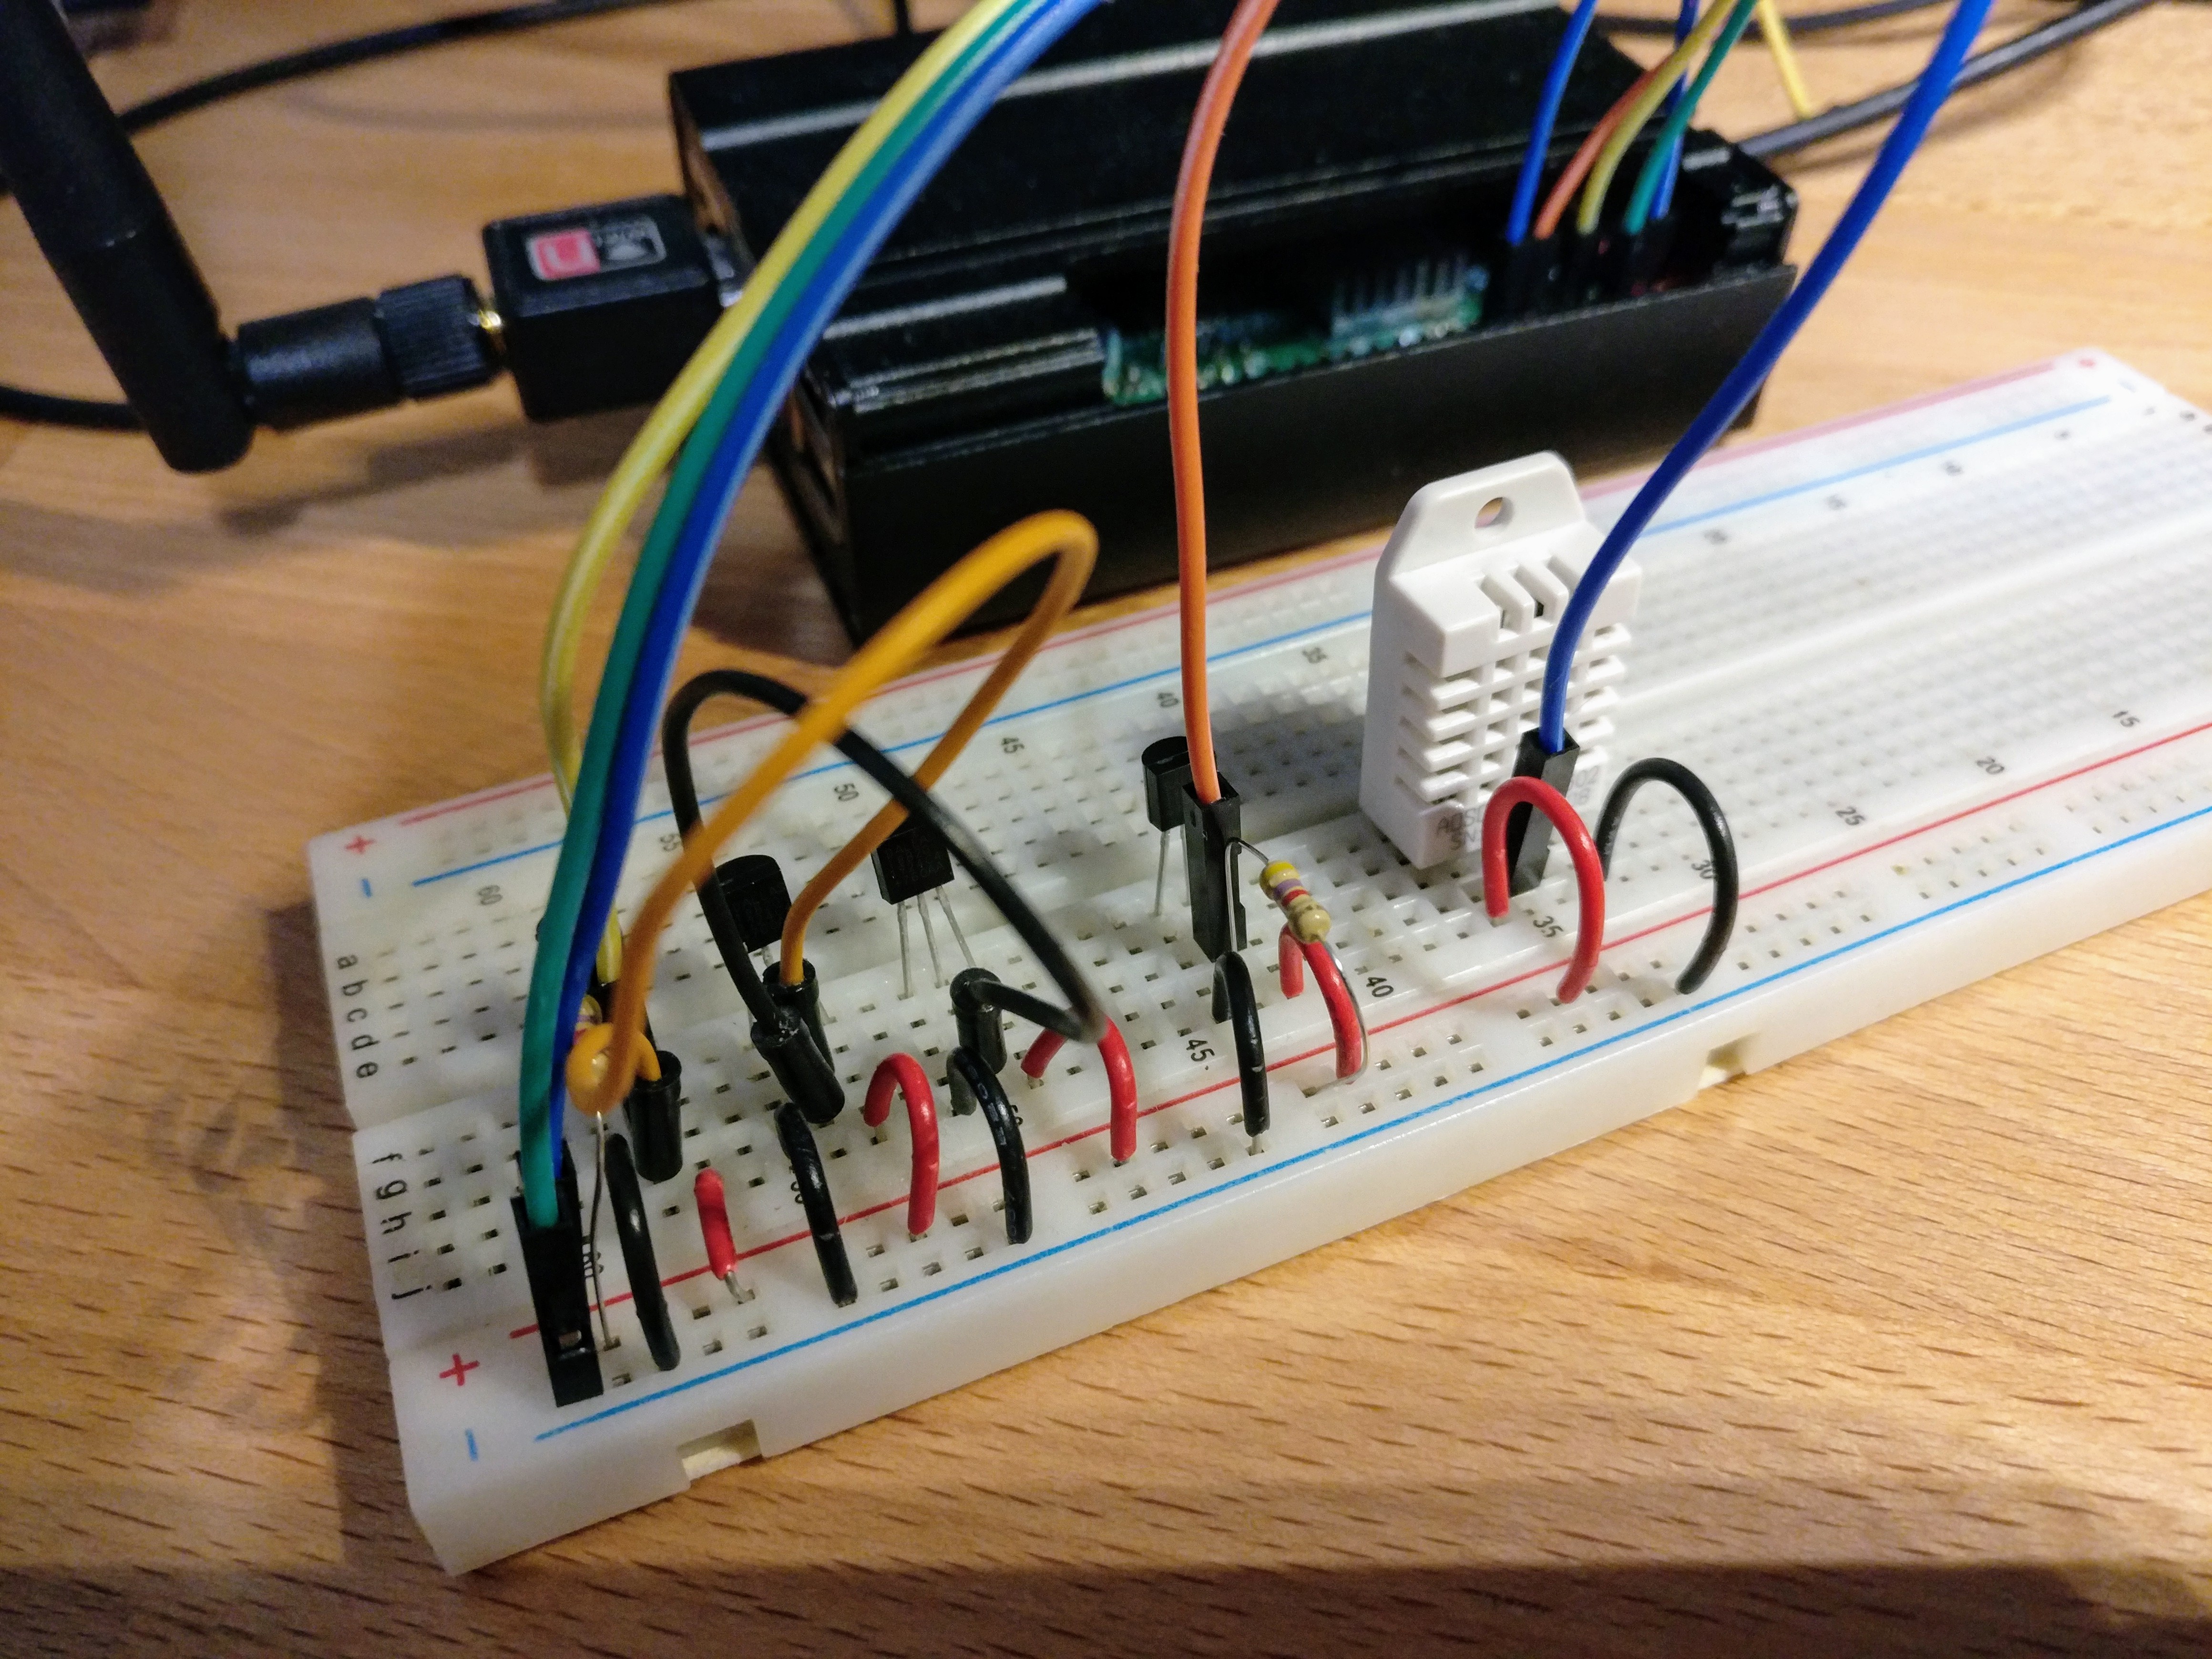
The DS18B20 is a popular temperature sensor that uses the 1-Wire protocol for communication. Recent versions of the Linux kernel include a kernel driver for this protocol, making it relatively convenient to connect one or more of these devices to a Raspberry Pi or similar device. 1-Wire devices can be daisy chained, so it is possible to connect several devices to your Pi using only a single GPIO pin, and you’ll find many articles out there that describe how to do so.

[read more]

I2C on the Raspberry Pi

I’ve set up my Raspberry Pi to communicate with my Arduino via I2C. The Raspberry Pi is a 3.3v device and the Arduino is a 5v device. While in general this means that you need to use a level converter when connecting the two devices, you don’t need to use a level converter when connecting the Arduino to the Raspberry Pi via I2C.

The design of the I2C bus is such that the only device driving a voltage on the bus is the master (in this case, the Raspberry Pi), via pull-up resistors. So when “idle”, the bus is pulled to 3.3v volts by the Pi, which is perfectly safe for the Arduino (and compatible with it’s 5v signaling). To transmit data on the bus, a device brings the bus low by connecting it to ground. In other words, slave devices never drive the bus high. This means that the Raspberry Pi will never see a 5v signal from the Arduino…unless, of course, you make a mistake and accidentally digitalWrite a HIGH value on one of the Arduino’s I2C pins. So don’t do that.

[read more]

Interrupt driven GPIO with Python

There are several Python libraries out there for interacting with the GPIO pins on a Raspberry Pi:

All of them are reasonably easy to use, but the Quick2Wire API provides a uniquely useful feature: epoll-enabled GPIO interrupts. This makes it trivial to write code that efficiently waits for and responds to things like button presses.

The following simple example waits for a button press attached to GPIO1 (but refer to the chart in this document to see exactly what that means; this is pin 12 on a Raspberry Pi v2 board) and lights an LED attached to GPIO0 when the button is pressed:

[read more]

Controlling a servo with your Arduino

I’ve recently started playing with an Arduino kit I purchased a year ago (and only just now got around to unboxing). I purchased the kit from SparkFun, and it includes a motley collection of resistors, LEDs, a motor, a servo, and more.

I was fiddling around with this exercise, which uses the SoftwareServo library to control a servo. Using this library, you just pass it an angle and the library takes care of everything else, e.g. to rotate to 90 degrees you would do this:

[read more]