Grove Beginner Kit for Arduino (part 2): First look
The folks at Seeed Studio were kind enough to send me a Grove Beginner Kit for Arduino for review. That’s a mouthful of a name for a compact little kit!
The Grove Beginner Kit for Arduino (henceforth “the Kit”, because ain’t nobody got time to type that out more than a few times in a single article) is about 8.5 x 5 x 1 inches. Closed, you could fit two of them on a piece of 8.5x11 paper with a little room leftover.
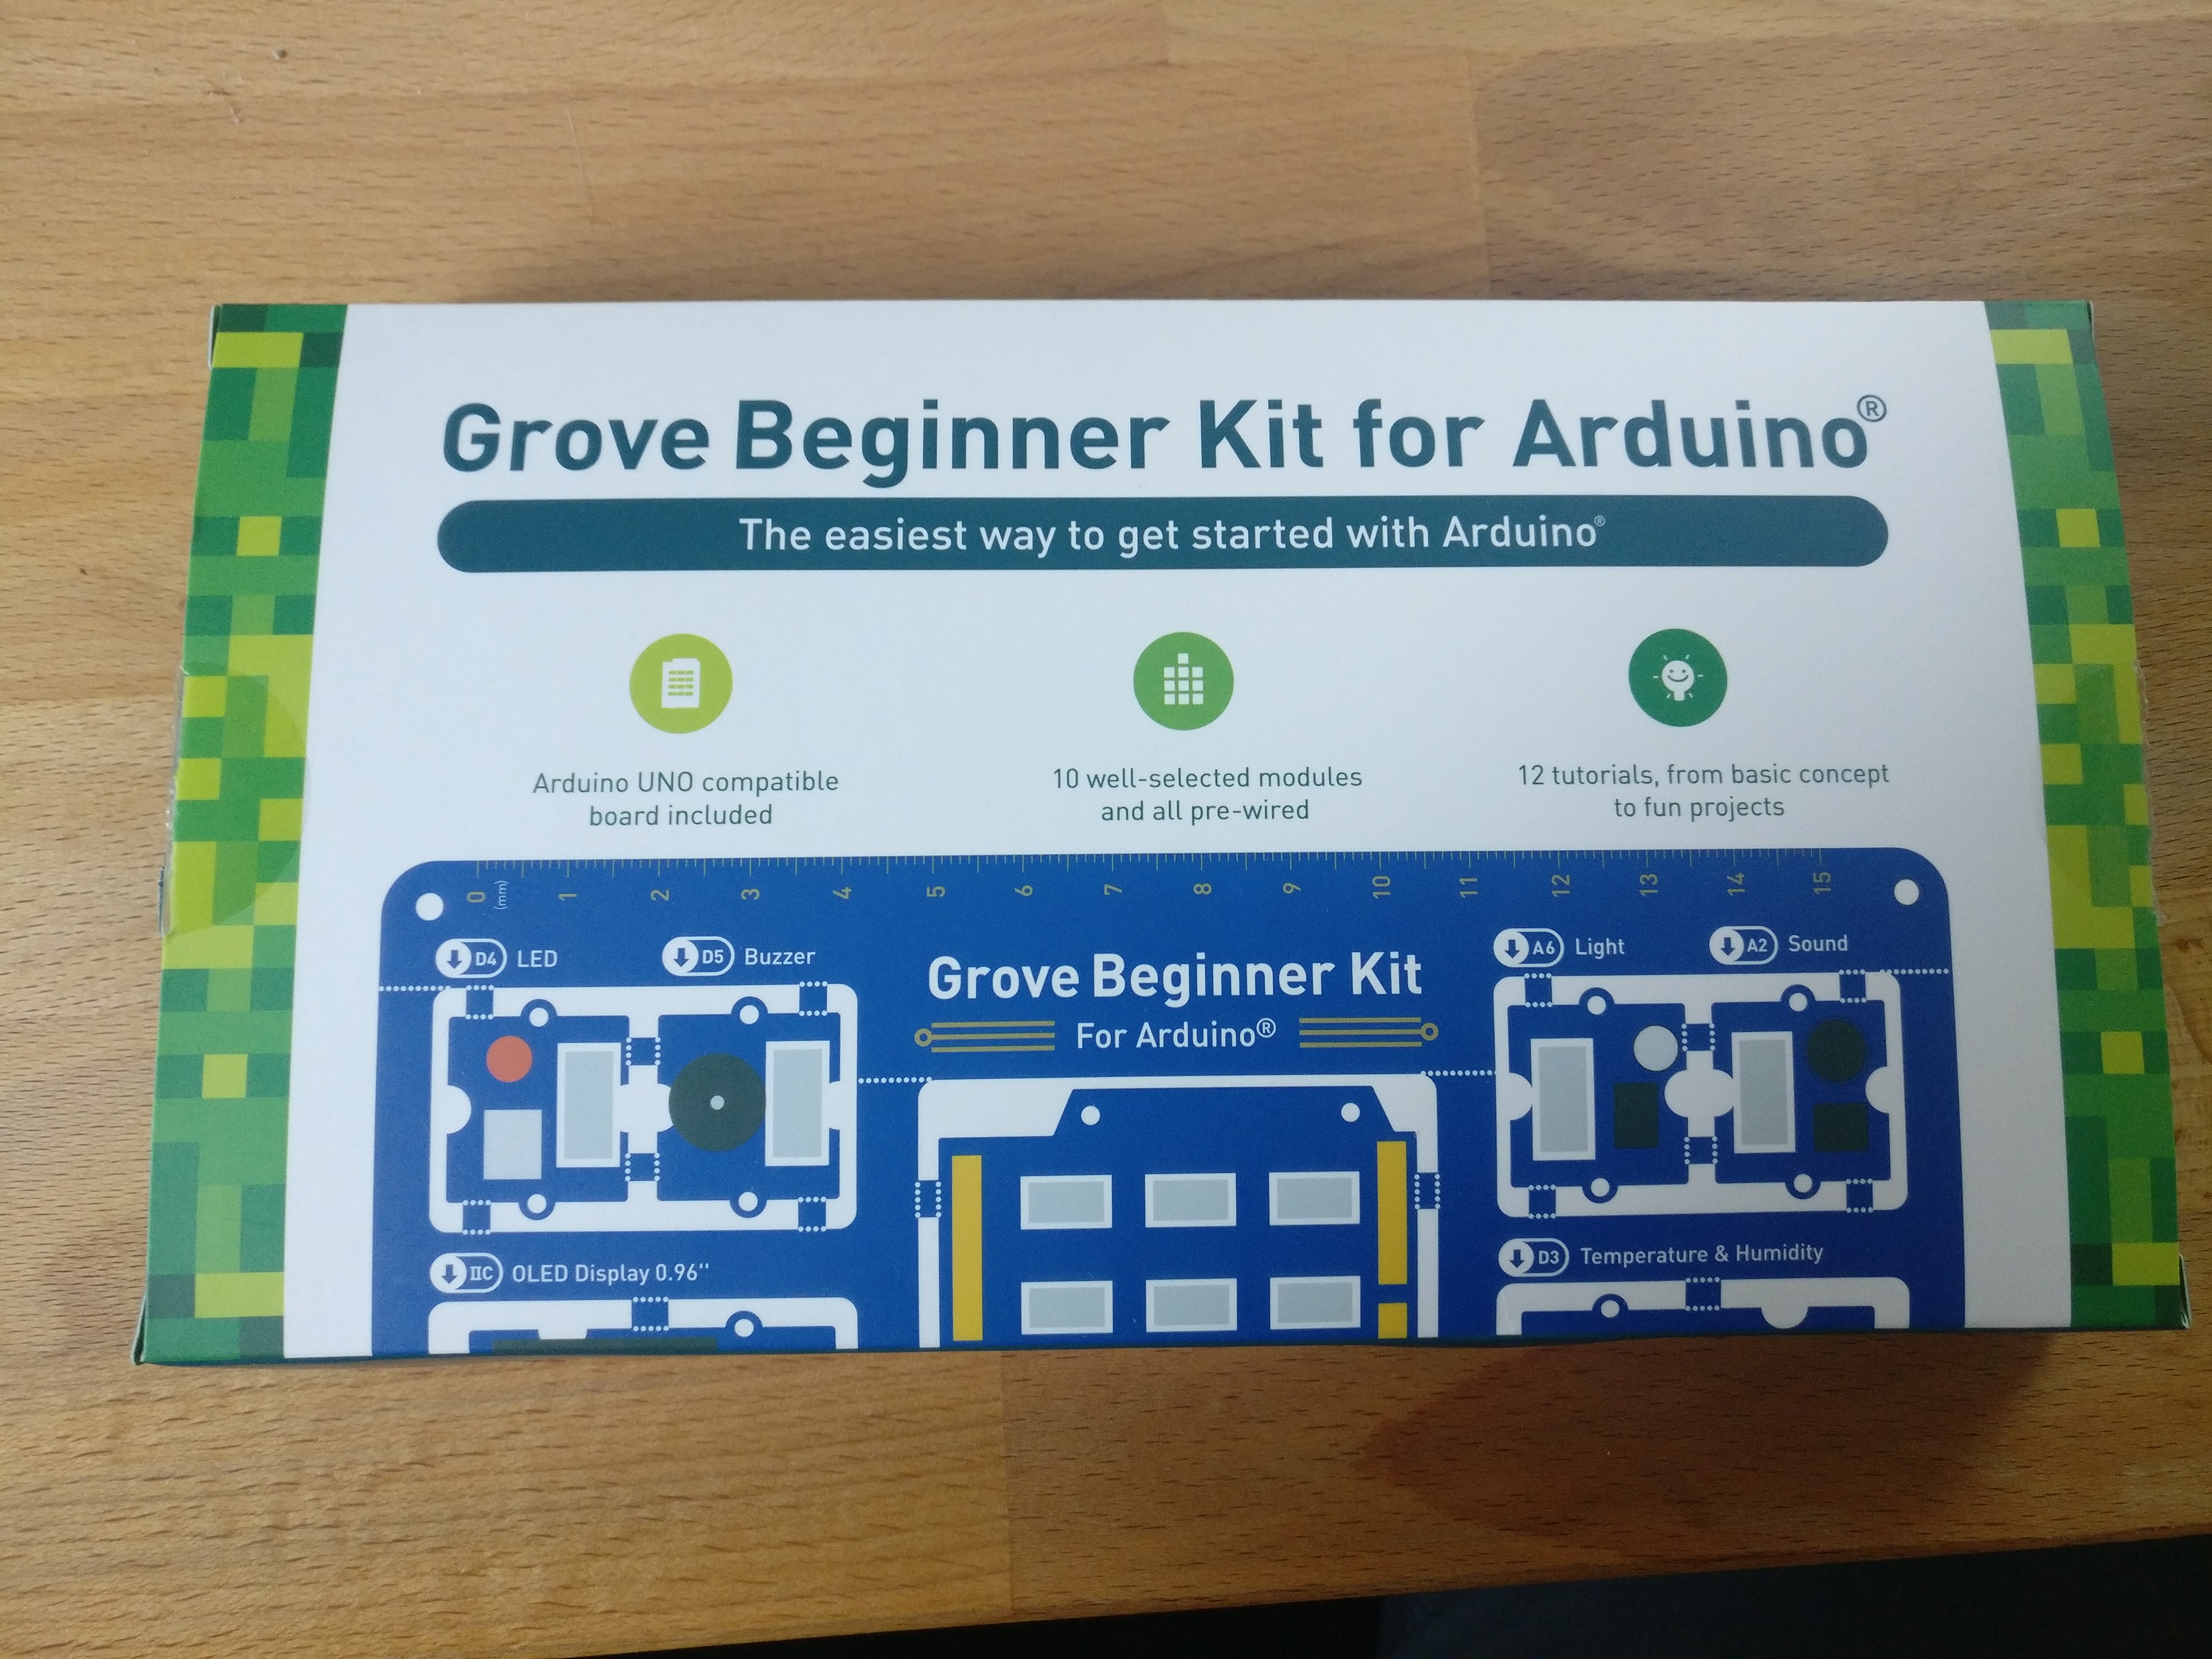
Opening the top of the box, we see the board itself. The kit is targeted straight at the STEM market, and as we’ll in the following paragraphs there are a number of features that make it particularly appropriate for this niche.
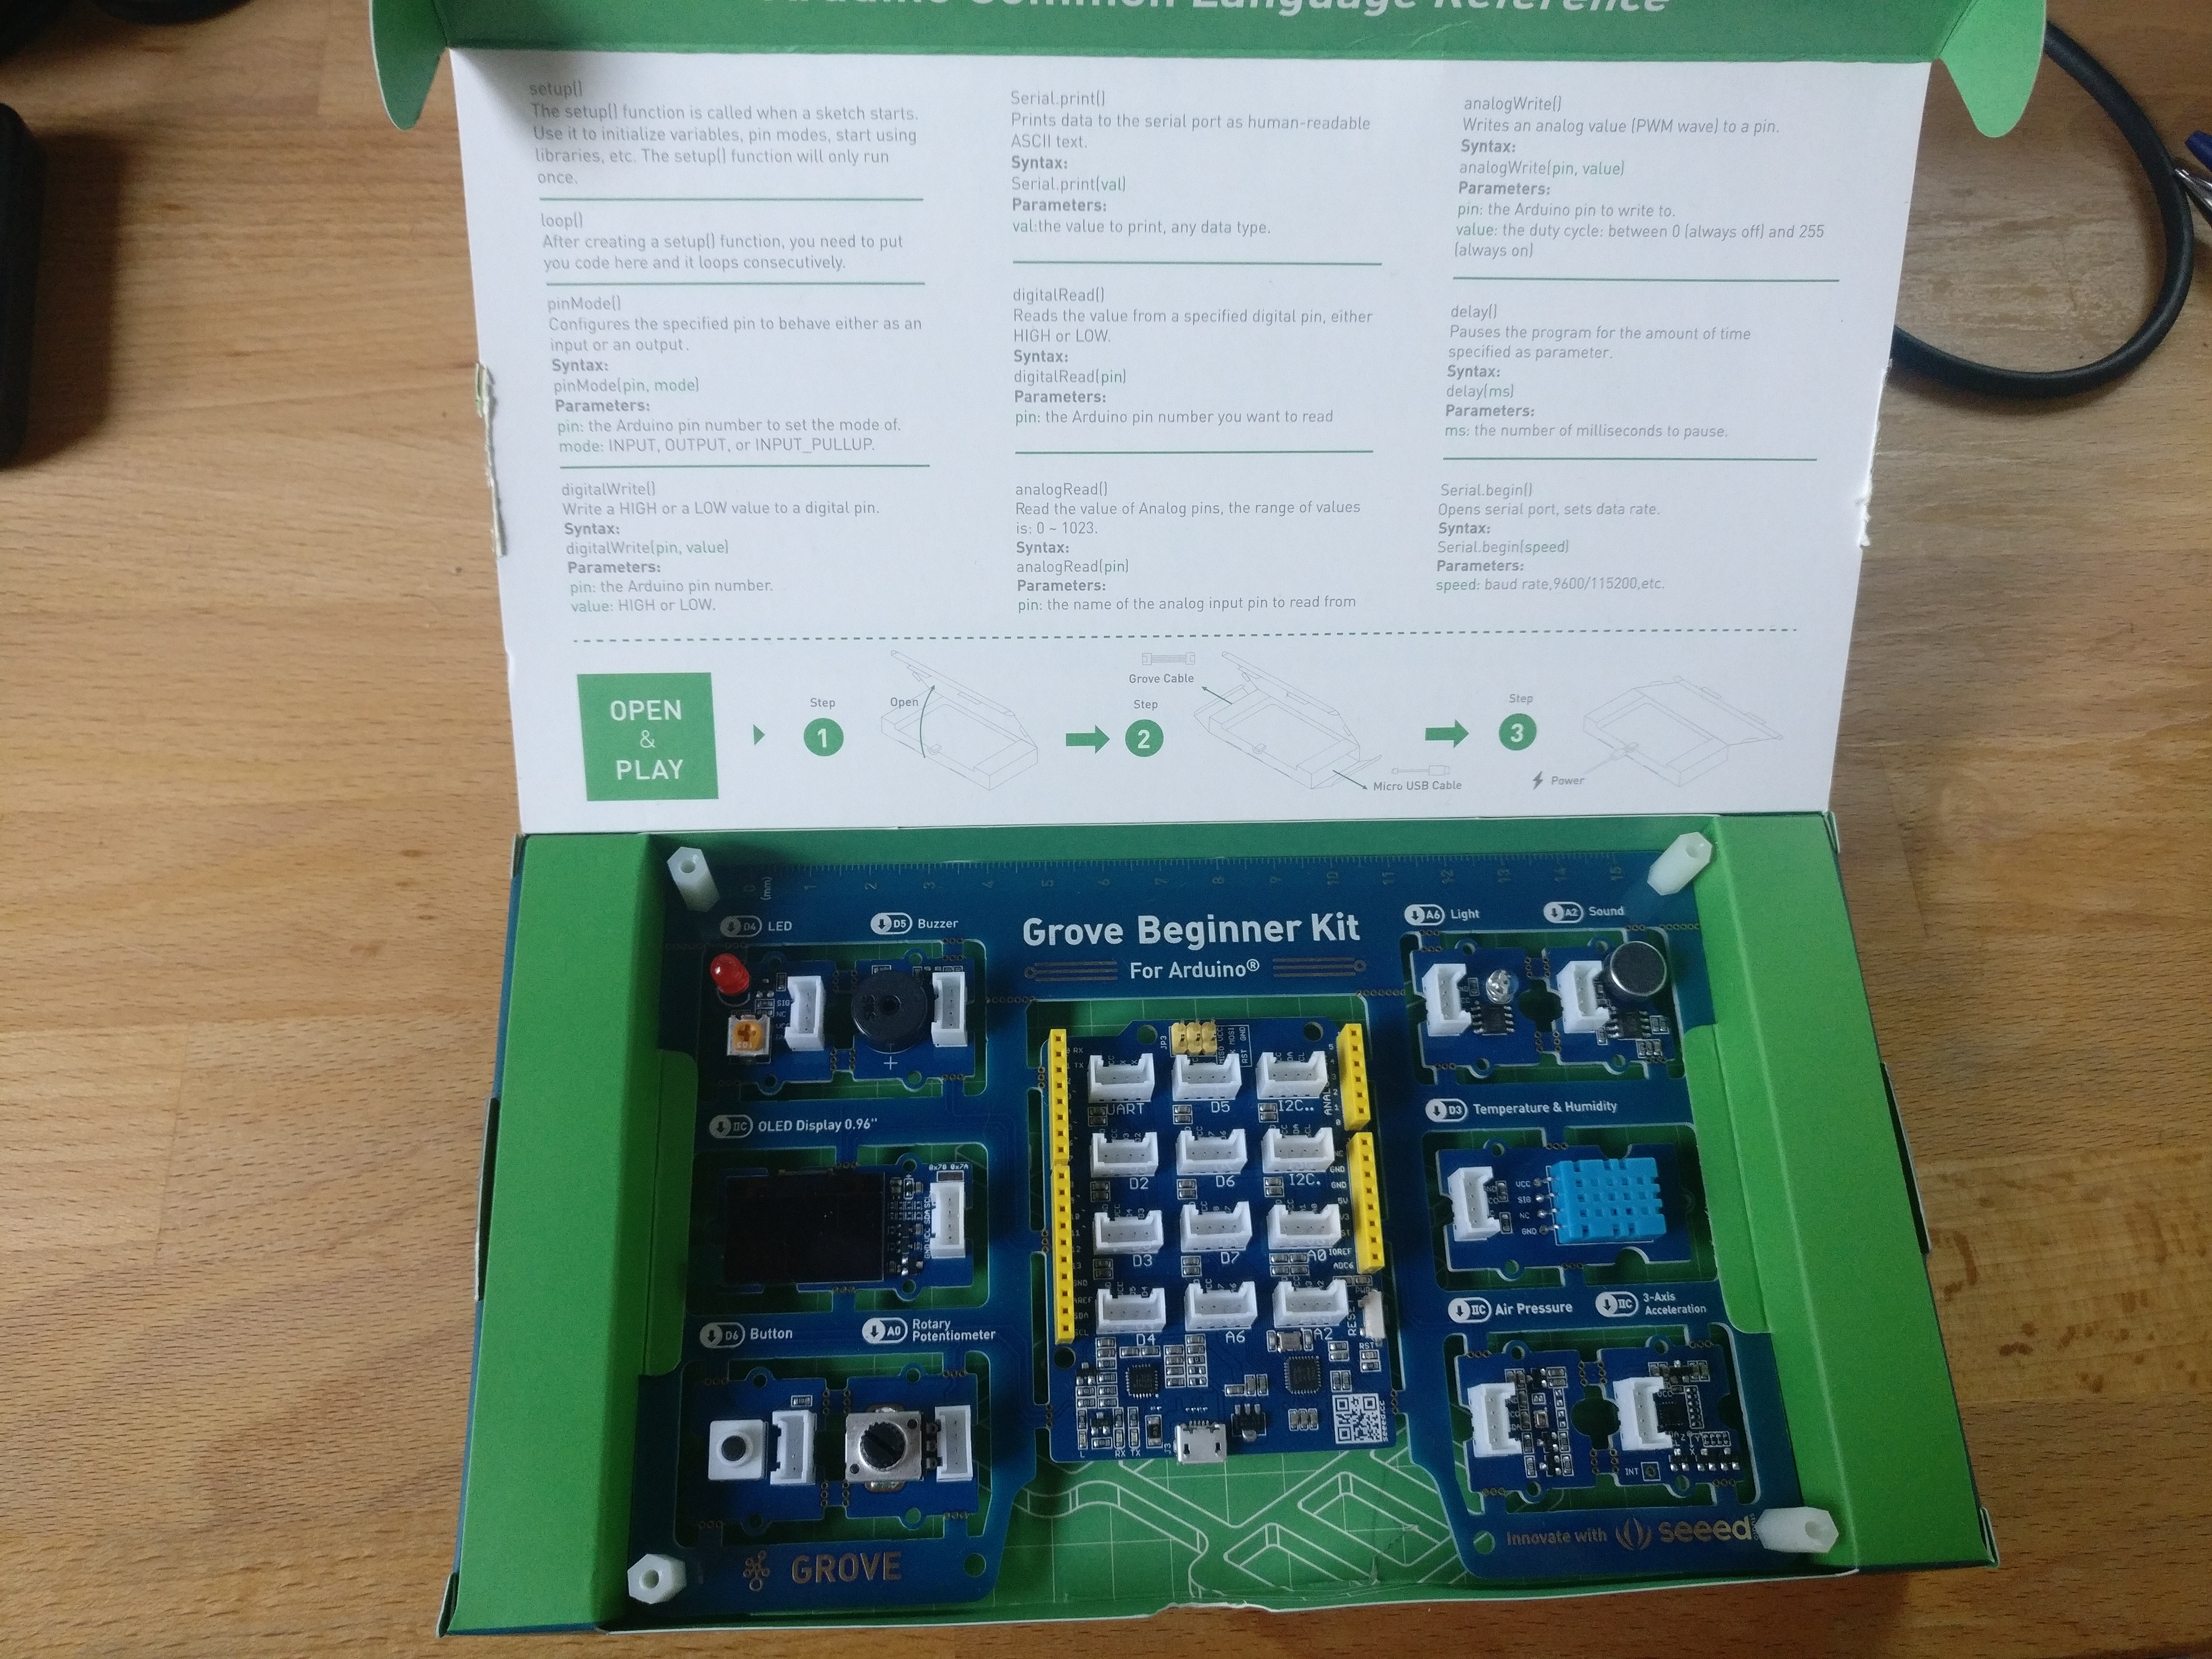
The kit comes with a wide variety of sensors, inputs, and outputs (see the Sensors and Input/Output sections, below, for an overview). To make it easy to get started, everything you see is pre-wired (via traces on the PCB) to the microcontroller. That means you don’t need soldering or connection cables to use anything on the board.
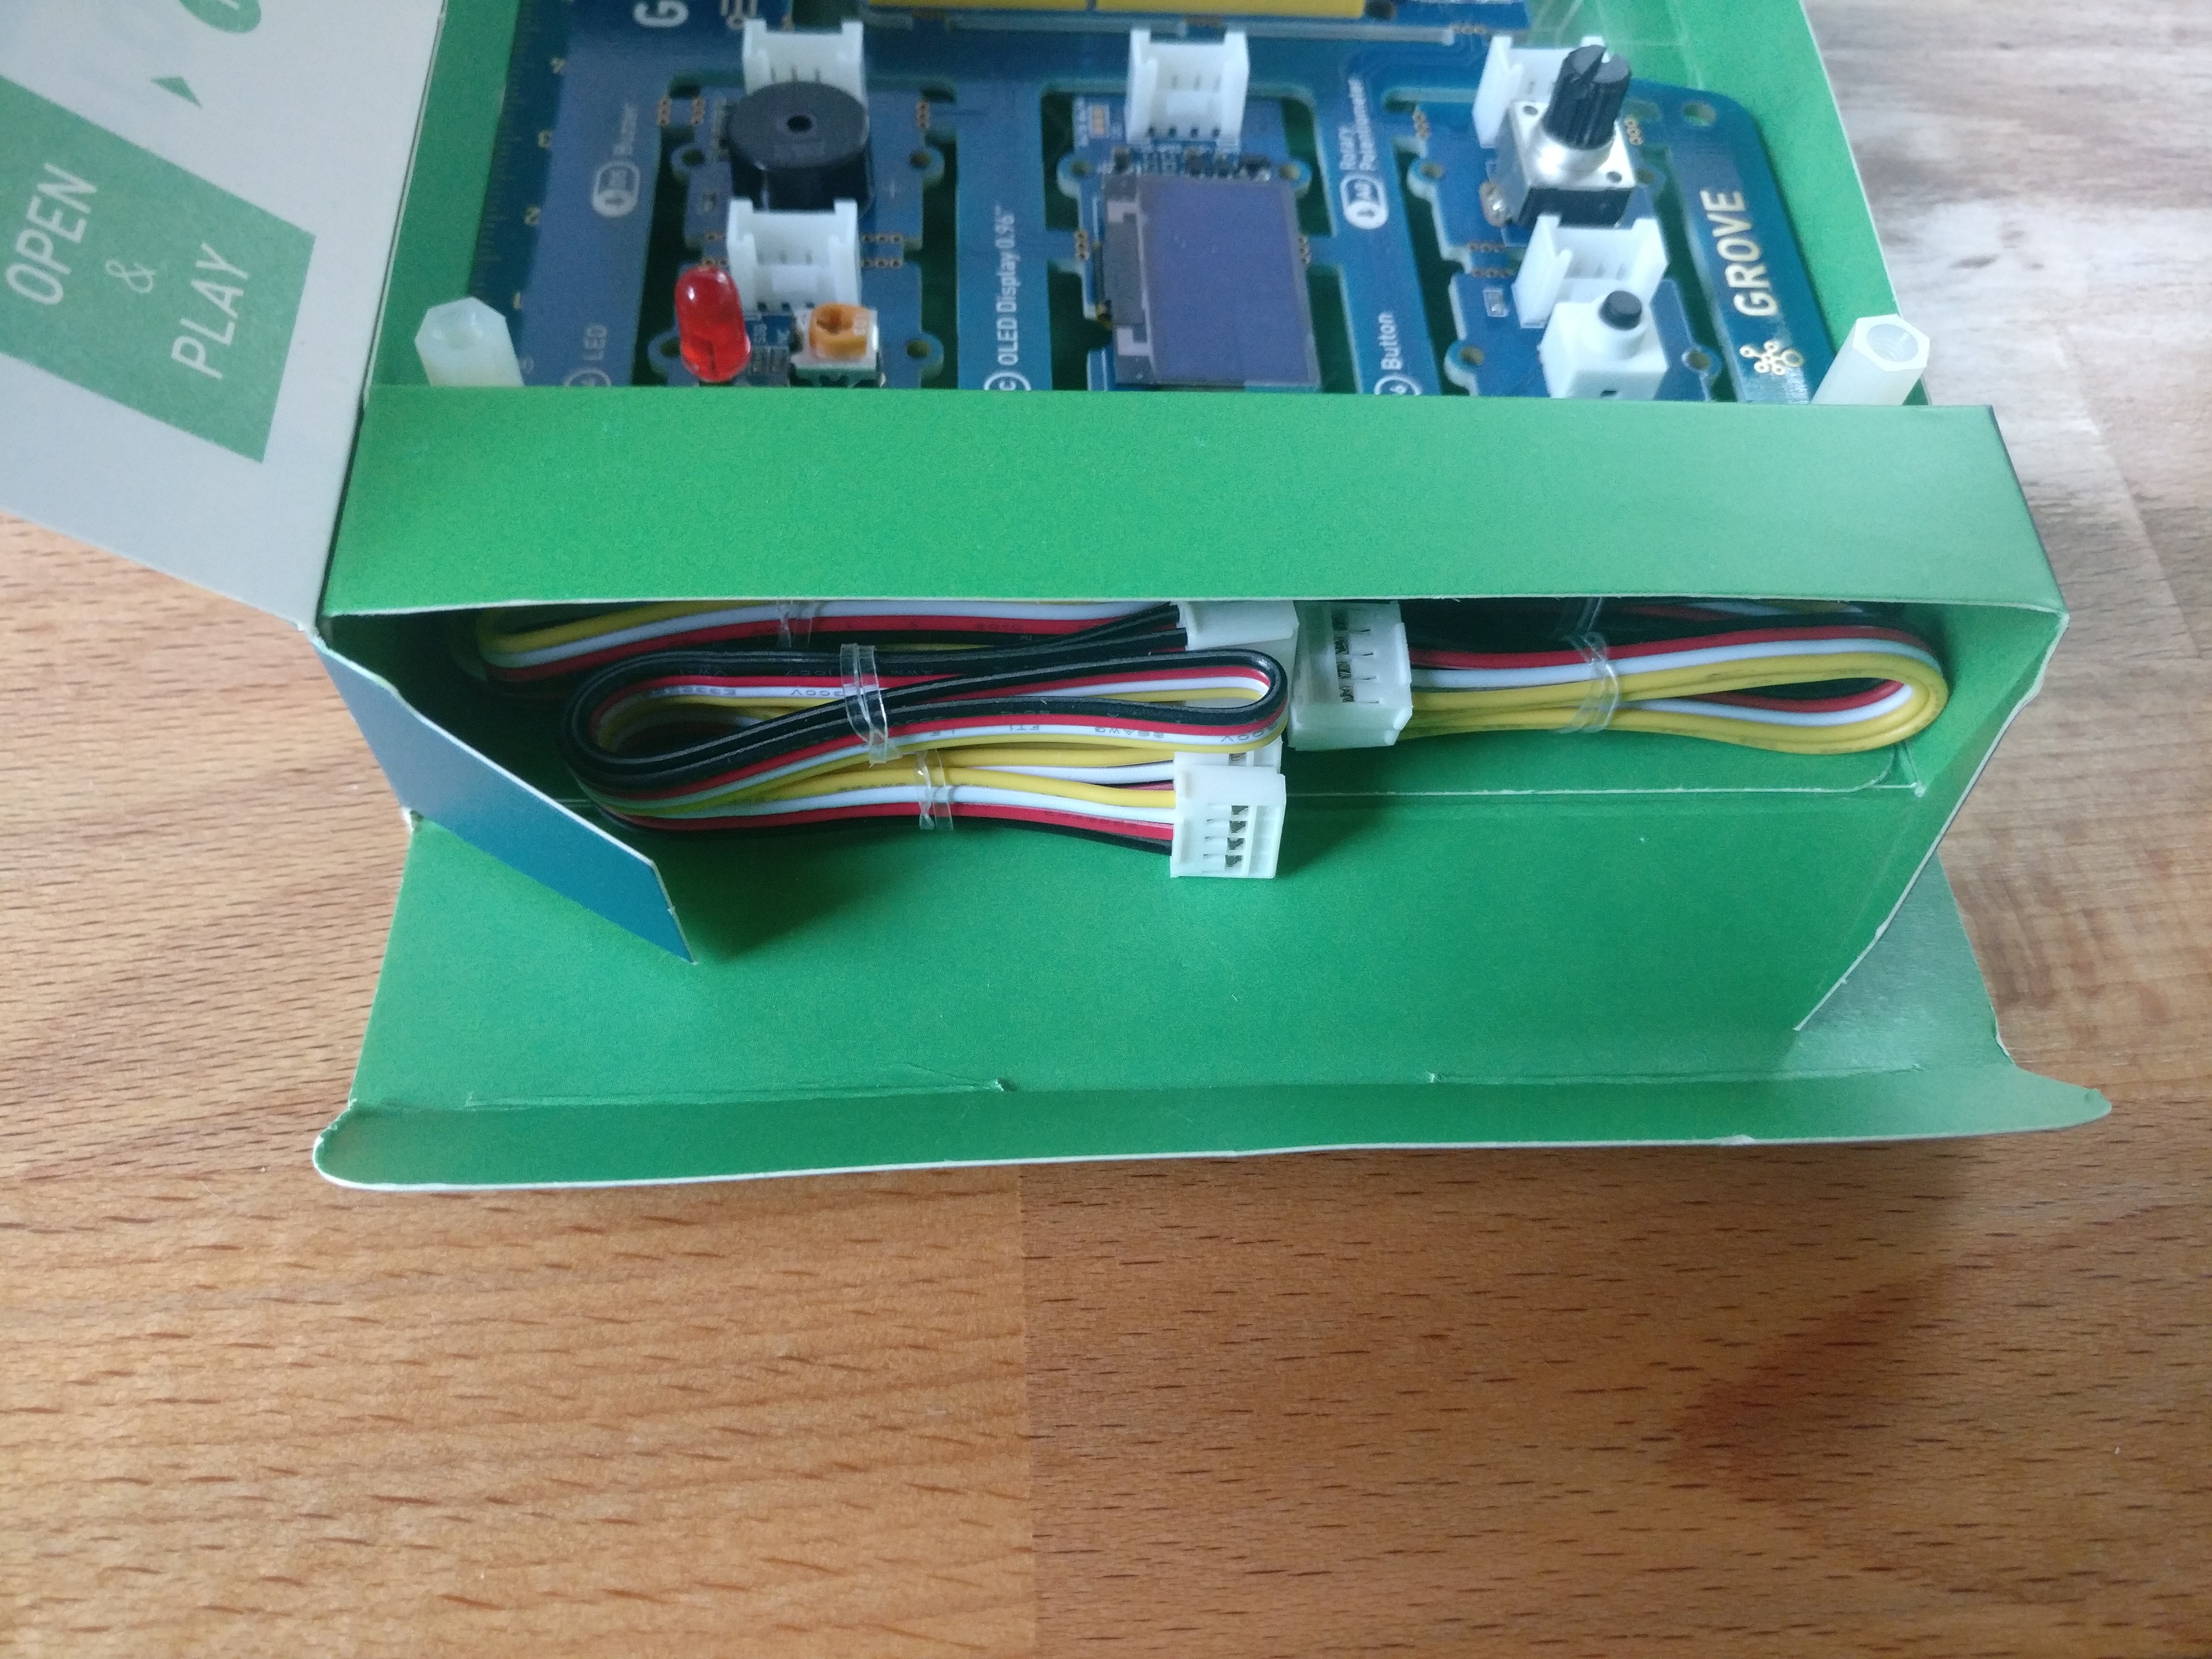
Every sensor also has a Grove connector on it, and the main board – in addition to Arduino-compatible headers – has 12 Grove connectors. The individual sensor boards are designed so that you can cut them off the PCB and use them on their own. If you open the left-hand side of the kit, you’ll find a collection of six Grove connection cables if you choose to go this route.
Using the Grove connectors makes it very easy to add additional sensors to your projects (it looks like there are about 150 sensor modules available in the Seeed Studio store).
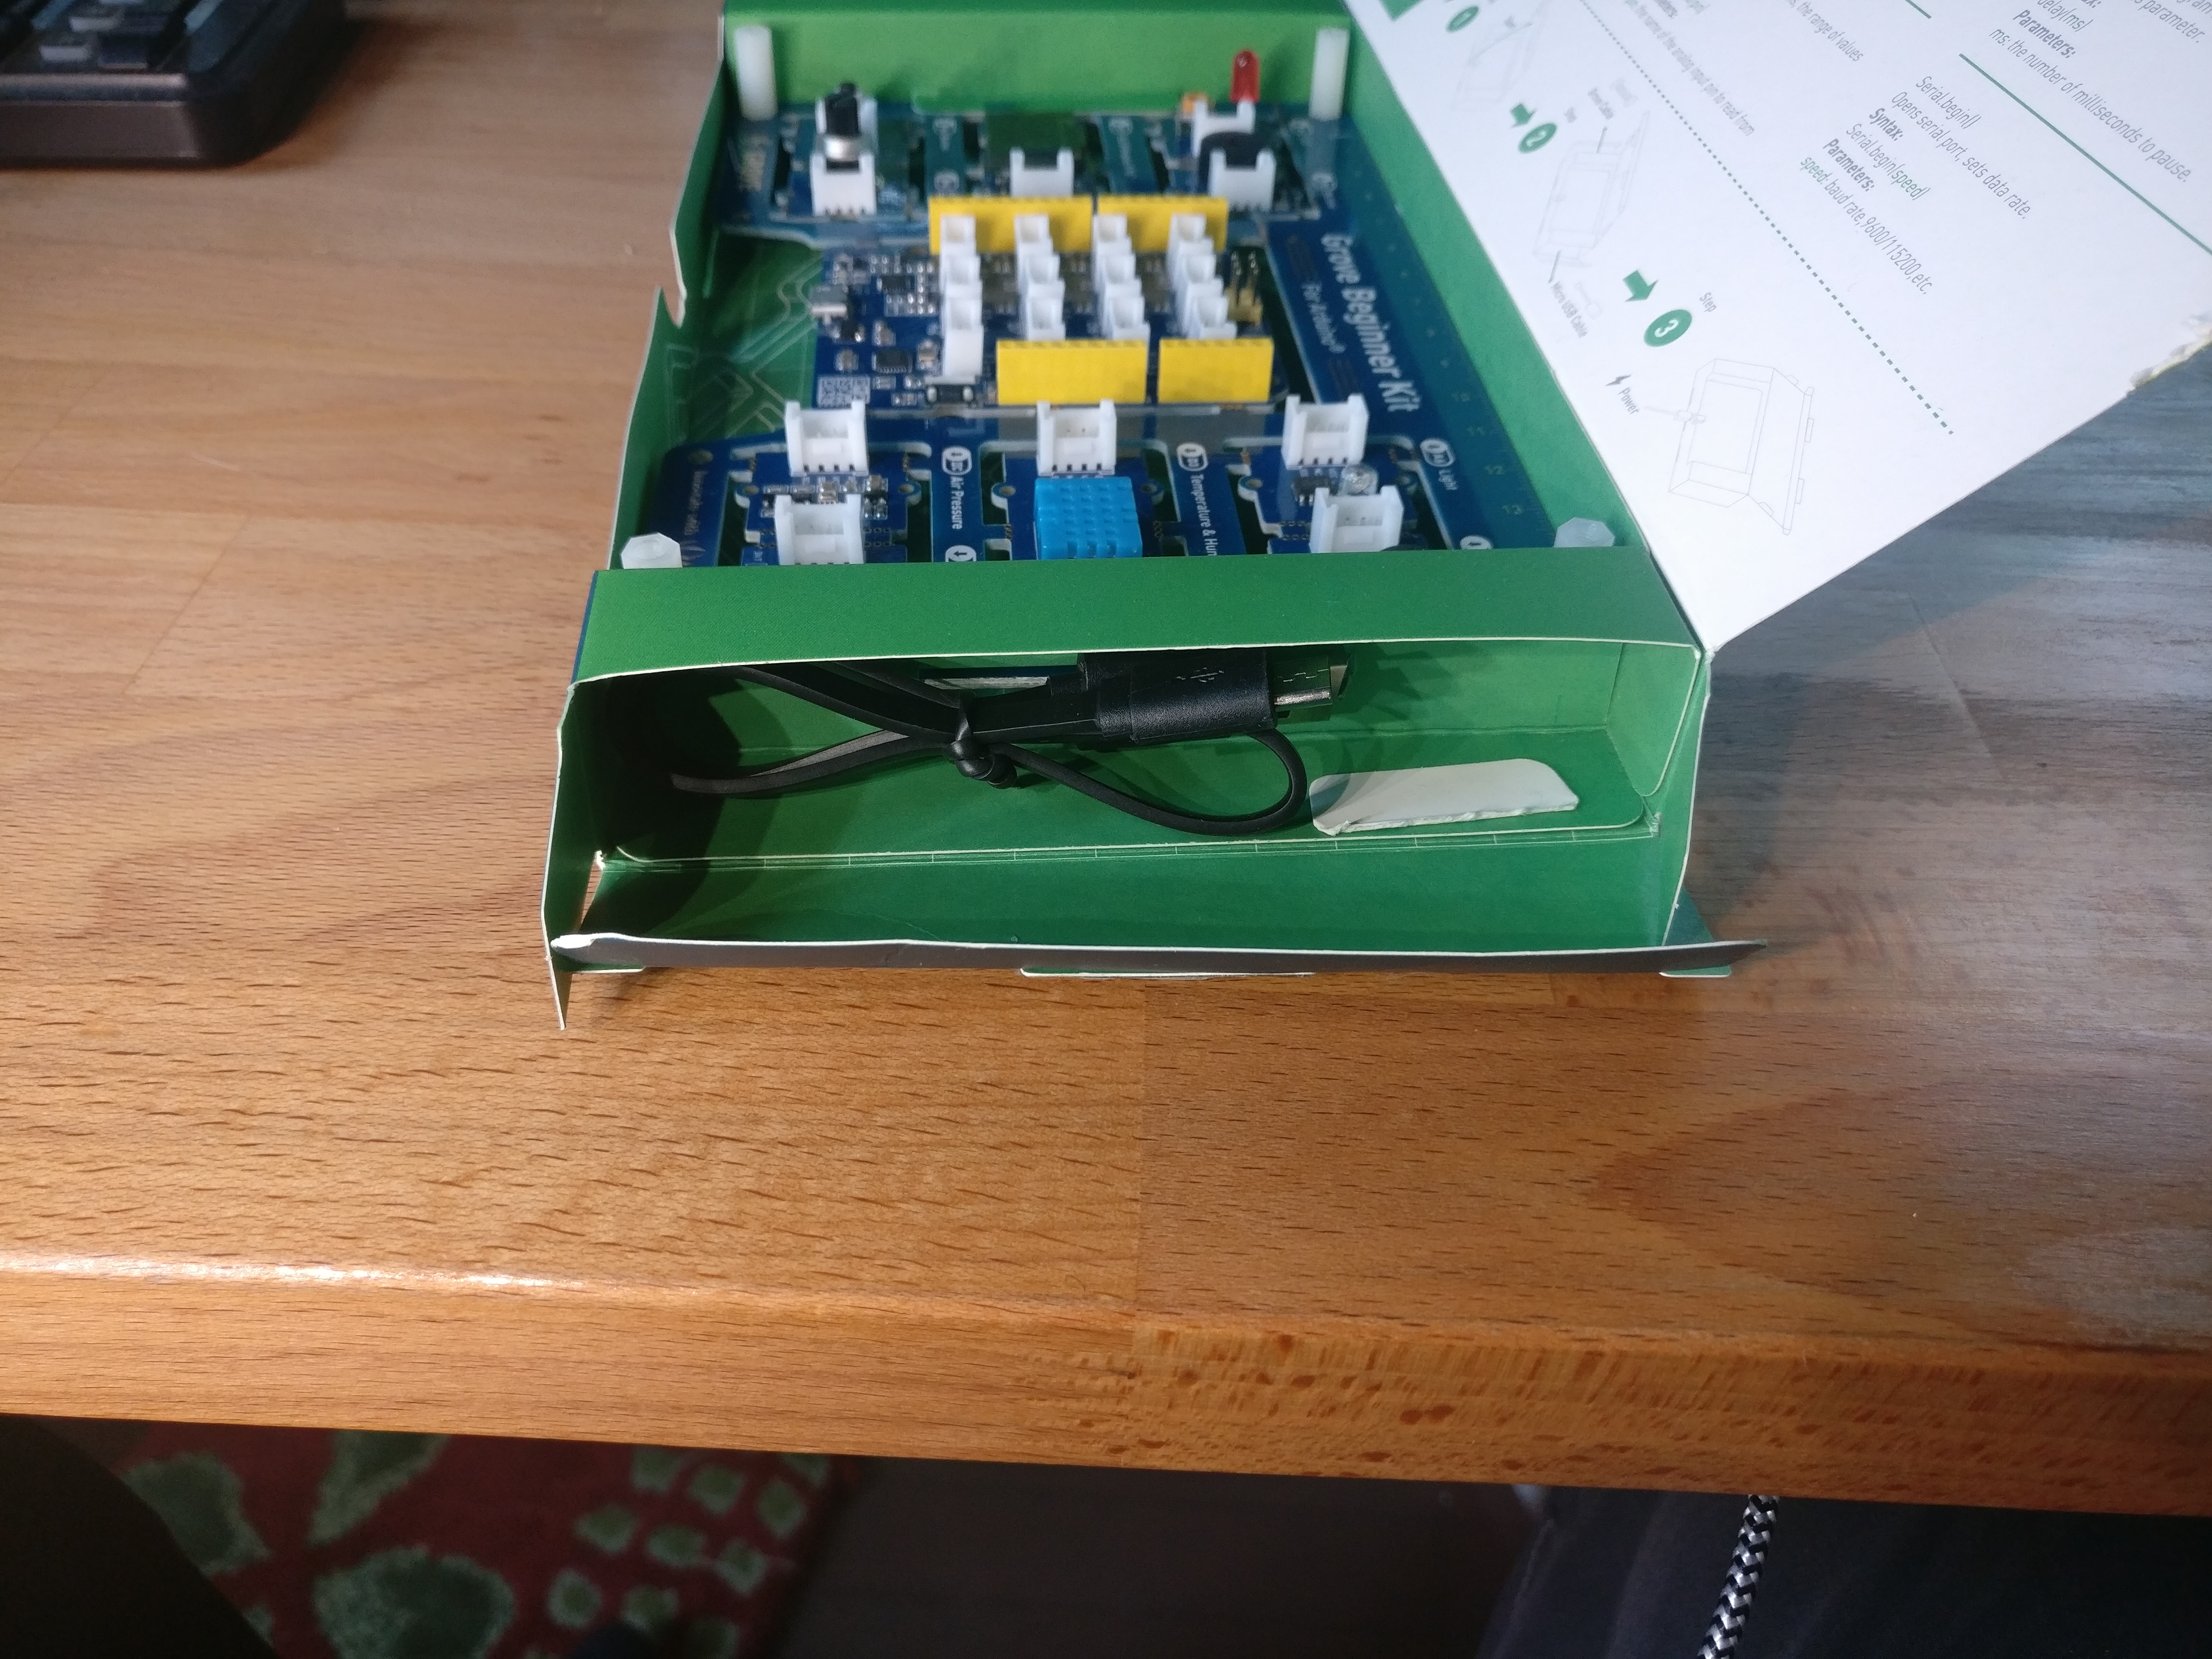
The right-hand side of the case contains a micro USB cable for power and for connecting the kit to your computer for programming using the Arduino IDE.
Sensors#
The Kit ships with a variety of sensors. In addition to simple light and sound sensors, the kit also has:
DHT11 Temperature and Humidity Sensor
The DHT11 is the less expensive cousin of the DHT22. The DHT11 can measure temperature from 0-50 °C with an accuracy of ±2 °C, and humidity from 20-80% with an accuracy of ±5% (the DHT22, in comparison, has a slightly wider ranger for both temperature and humidity, and substantially better accuracy).
BMP280 Air Pressure Sensor
The BMP280 can measure pressure from -500 m below sea level to 9000 m above sea level, with a relative accuracy of ±1 m (that’s 300-1100 hPa with a relative accuracy of ±0.12 hPa). “Relative accuracy” means that it’s good at detecting pressure changes, but it’s less accurate if your goal is to read the absolute air pressure (the accuracy in that case is ±1 hPa, or roughly ±8 m).
LIS3DHTR 3-Axis Accelerometer
The LIS3DHTR has user-selectable scales of ±2 g/±4 g/±8 g/±16 g and is capable of measuring accelerations with output data rates from 1 Hz to 5.3 kHz.
Input/Output#
OLED Display
There’s a 0.96" I2C addressable OLED Display Module built around the SSD1315 chip. You can see this display in action at the bottom of this post.
LED
Buzzer
Button
Potentiometer
LCD Demo#
In the next couple of weeks I hope to do something more interesting with this board, but as a first step I thought it would be fun to scroll something across the LCD screen. I slapped the following code together after reading the u8g2 docs for a couple of minutes, so I can guarantee that it’s not optimal, but it’s a start:
#include <Arduino.h>
#include <U8g2lib.h>

#ifdef U8X8_HAVE_HW_SPI
#include <SPI.h>
#endif
#ifdef U8X8_HAVE_HW_I2C
#include <Wire.h>
#endif

U8G2_SSD1306_128X64_NONAME_F_SW_I2C u8g2(U8G2_R2, /* clock=*/ SCL, /* data=*/ SDA, /* reset=*/ U8X8_PIN_NONE);

char *text = "blog.oddbit.com";

void setup(void) {
  u8g2.setBusClock(4000000);
  u8g2.begin();
  u8g2.setFontMode(0);
}

void loop(void) {
  u8g2_uint_t x;

  u8g2.firstPage();

  do {
    u8g2.setFont(u8g2_font_luBIS18_tf);
    u8g2.drawStr(x, 40, text);
    x -= 10;
  } while (u8g2.nextPage());
}