Posts for: #Raspberrypi

PiPower: A Raspberry Pi UPS

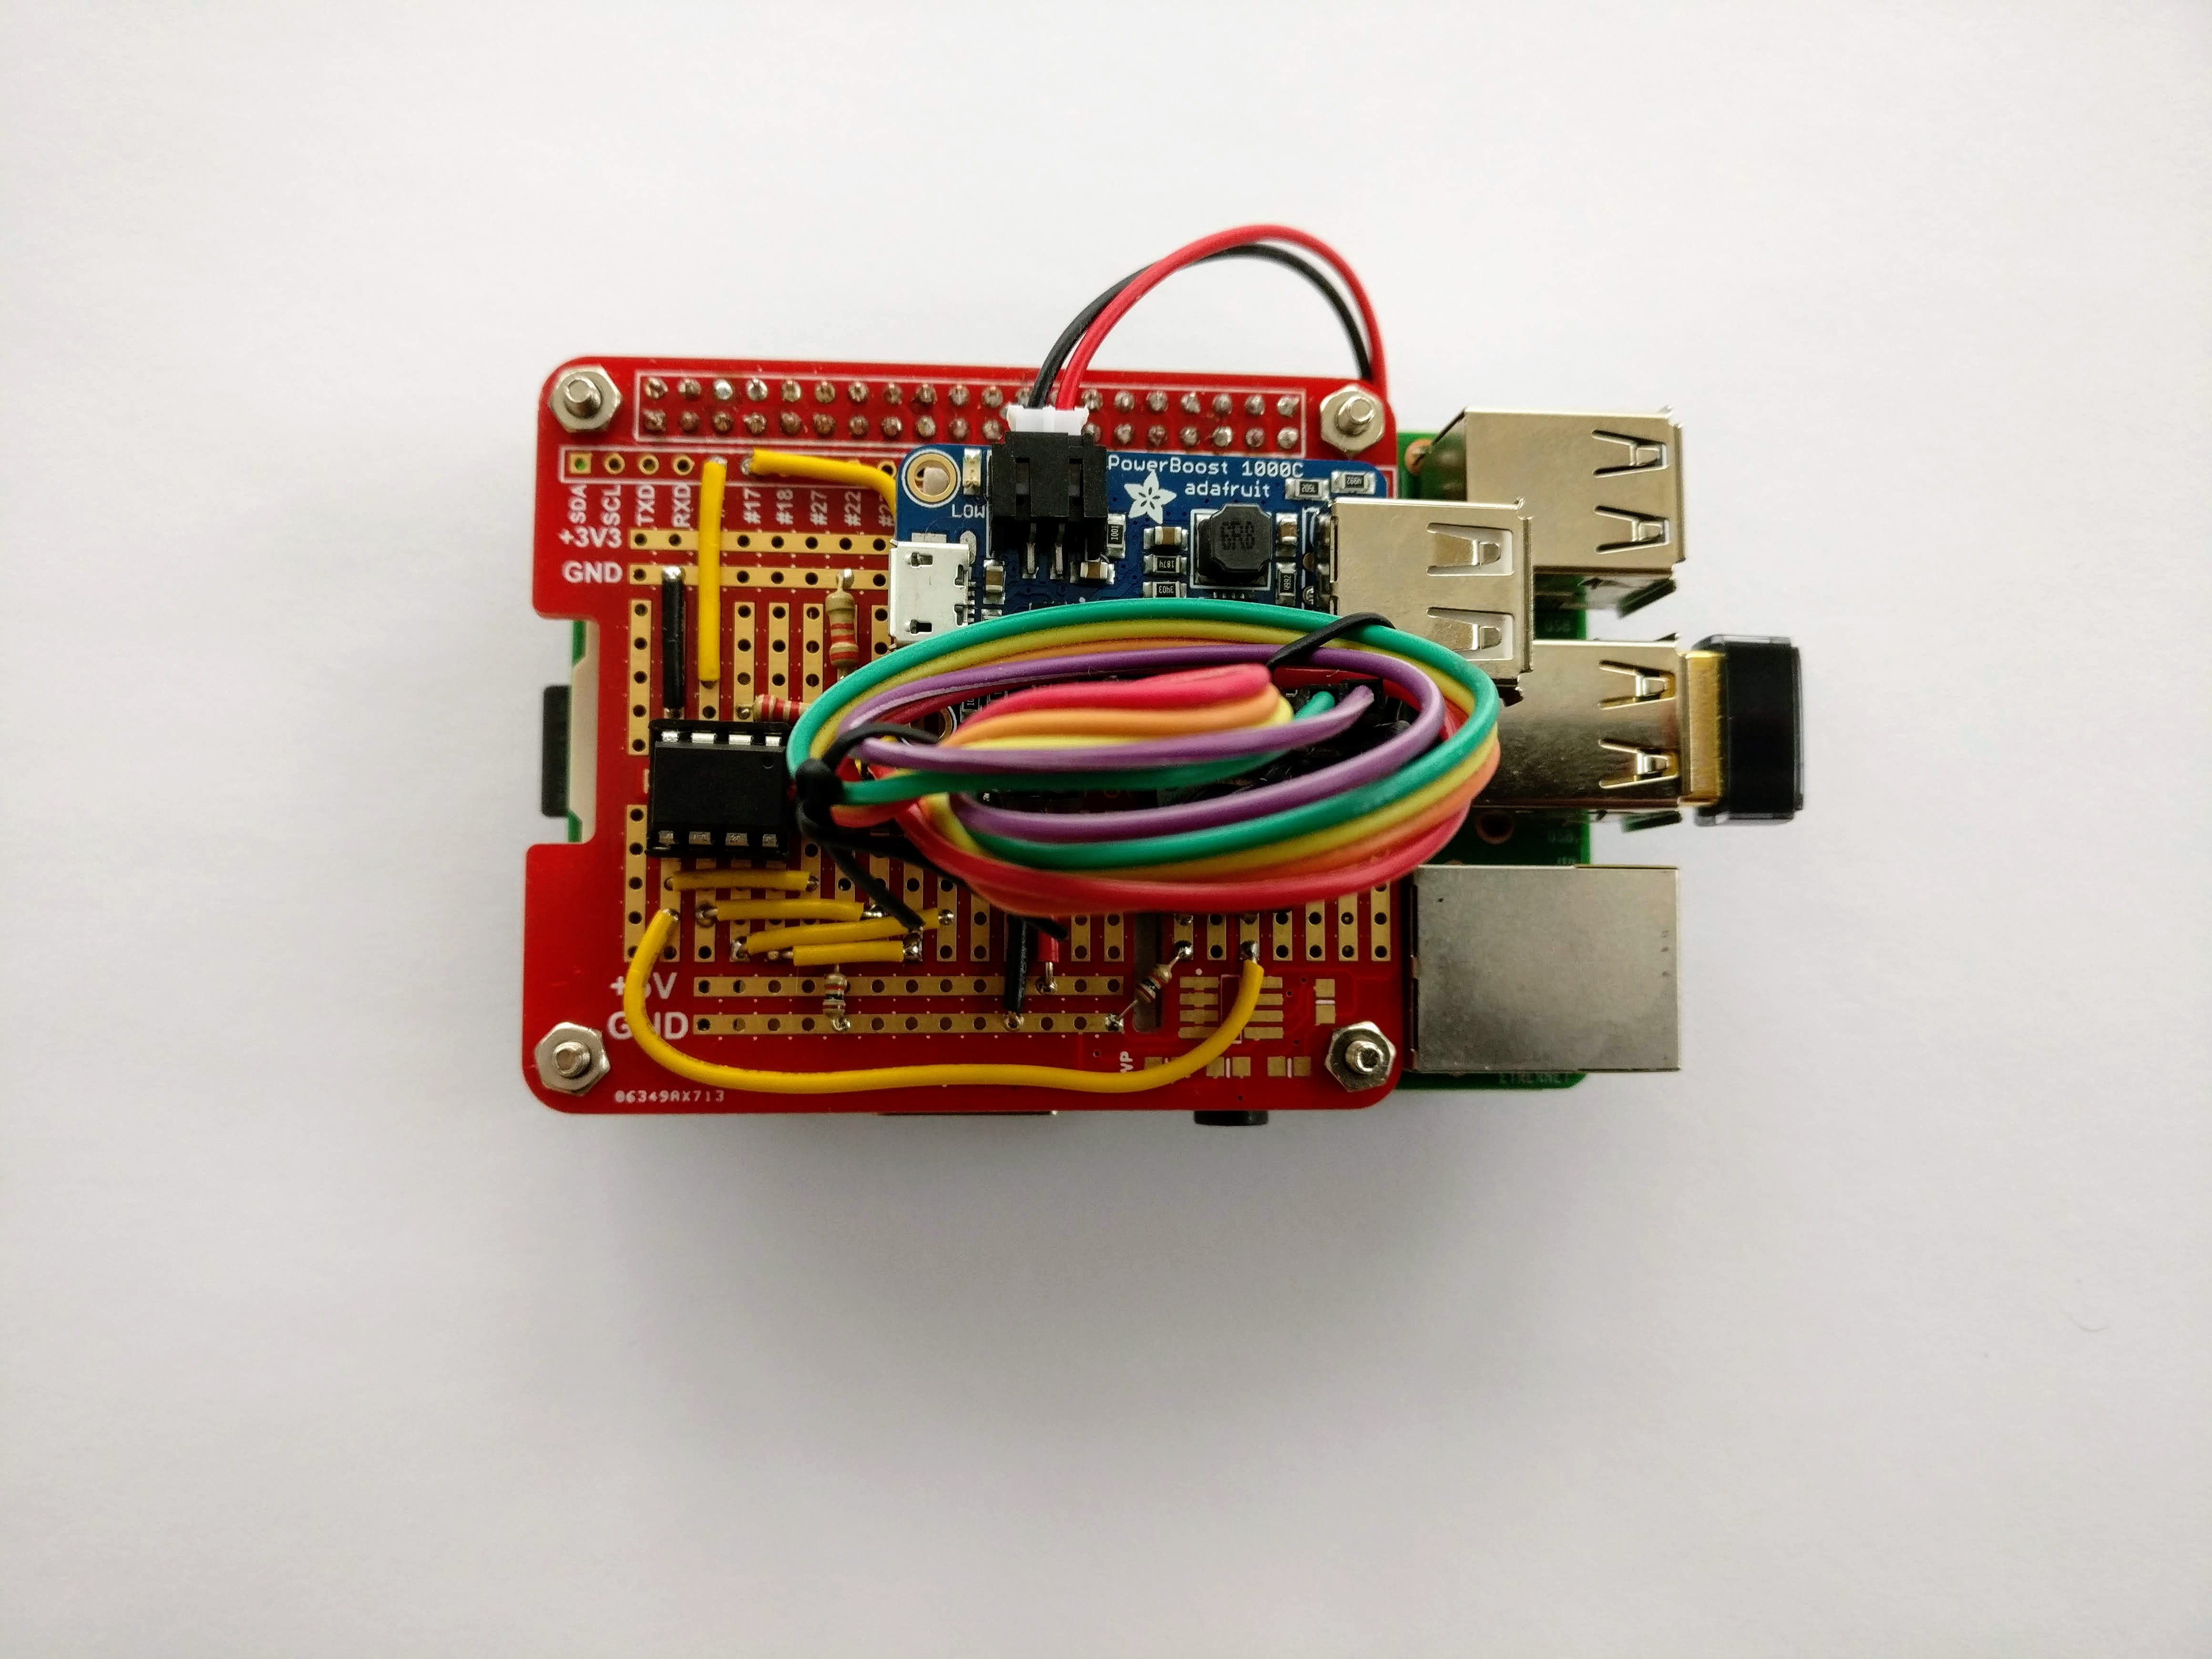
I have a Raspberry Pi running RetroPie hooked up to a television. It’s powered from a USB port on the TV, which is convenient, but it means that whenever we shut off the TV we’re pulling the plug on the Pi. While there haven’t been any problems so far, this is a classic recipe for filesystem problems or data loss at some point. I started looking into UPS options to alleviate this issue. I wanted something with the following features:

[read more]

Systemd unit for managing USB gadgets

The Pi Zero (and Zero W) have support for acting as a USB gadget: that means that they can be configured to act as a USB device – like a serial port, an ethernet interface, a mass storage device, etc.

There are two different ways of configuring this support. The first only allows you to configure a single type of gadget at a time, and boils down to:

  1. Enable the dwc2 overlay in /boot/config.txt
  2. Reboot.
  3. modprobe g_serial

This process is more fully documented here.

[read more]

Configuring a static address for wlan0 on Raspbian Stretch

Recent releases of Raspbian have adopted the use of dhcpcd to manage both dynamic and static interface configuration. If you would prefer to use the traditional /etc/network/interfaces mechanism instead, follow these steps.

  1. First, disable dhcpcd and wpa_supplicant.

     systemctl disable --now dhdpcd wpa_supplicant
    
  2. You will need a wpa_supplicant configuration for wlan0 in /etc/wpa_supplicant/wpa_supplicant-wlan0.conf.

    If you already have an appropriate configuration in /etc/wpa_supplicant/wpa_supplicant.conf, you can just symlink the file:

      cd /etc/wpa_supplicant
      ln -s wpa_supplicant.conf wpa_supplicant-wlan0.conf
    
  3. Enable the wpa_supplicant service for wlan0:

[read more]

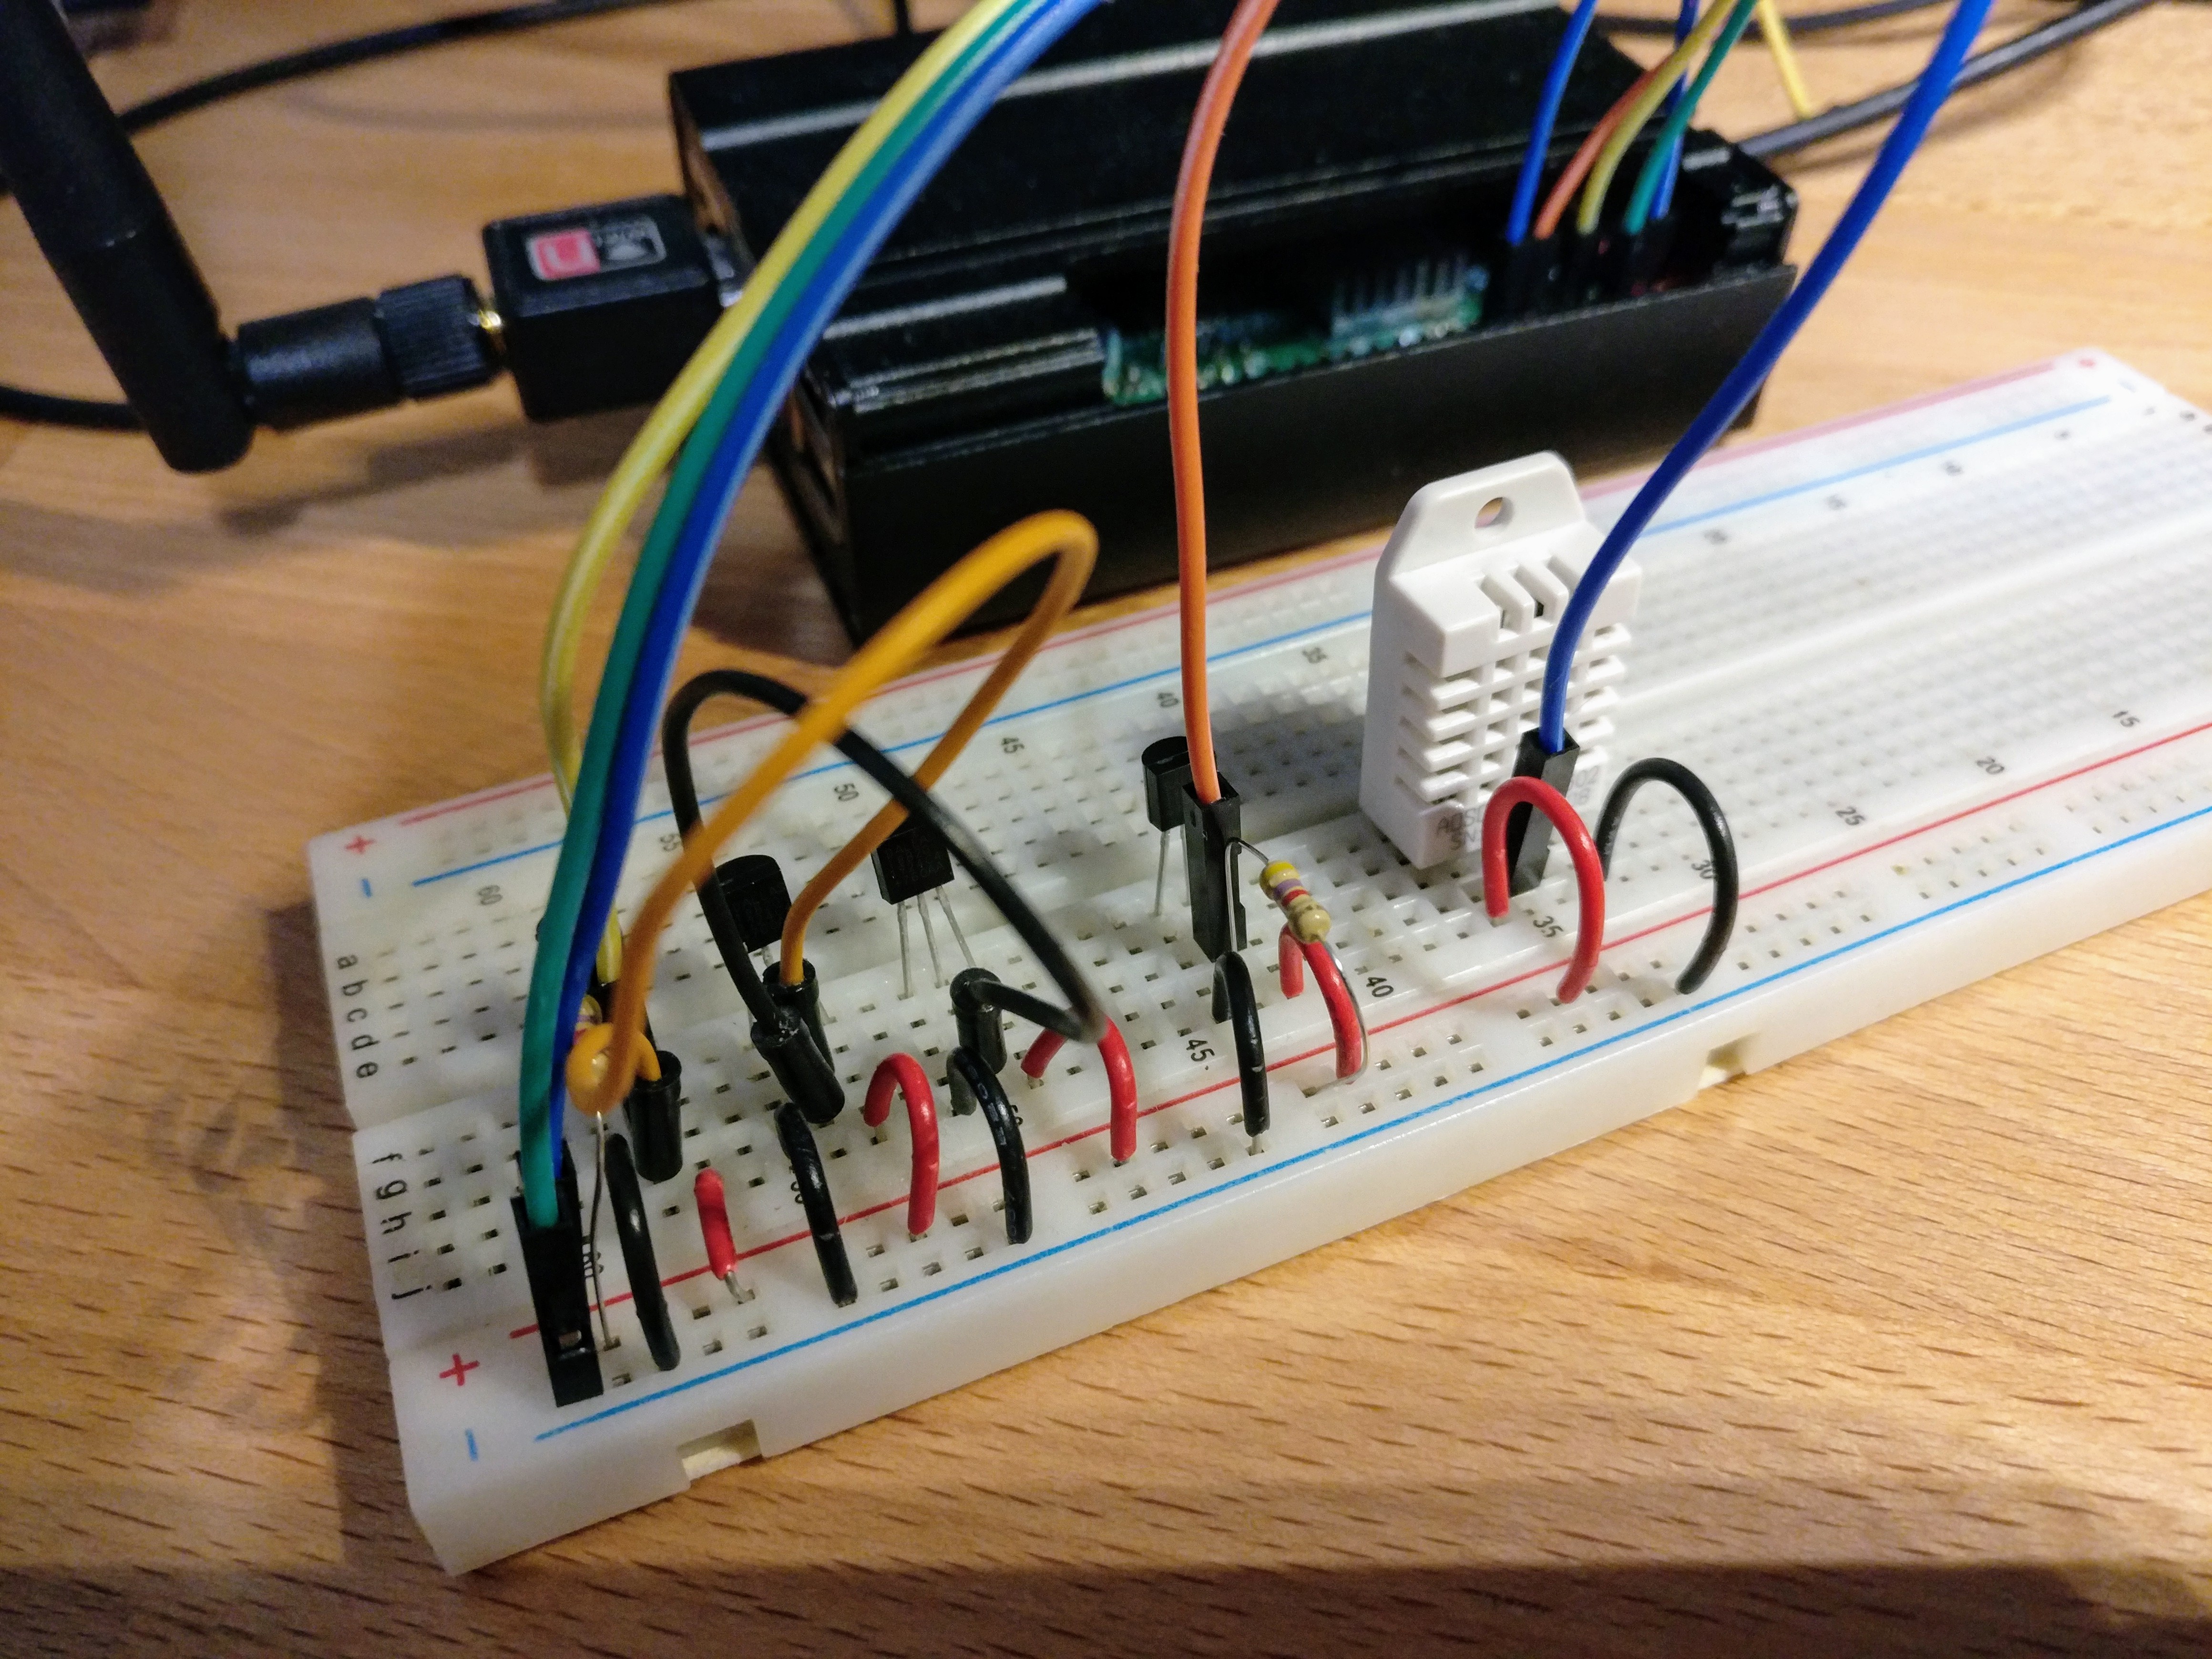
Multiple 1-Wire Buses on the Raspberry Pi

Multiple 1-Wire Buses on the Raspberry Pi

The DS18B20 is a popular temperature sensor that uses the 1-Wire protocol for communication. Recent versions of the Linux kernel include a kernel driver for this protocol, making it relatively convenient to connect one or more of these devices to a Raspberry Pi or similar device. 1-Wire devices can be daisy chained, so it is possible to connect several devices to your Pi using only a single GPIO pin, and you’ll find many articles out there that describe how to do so.

[read more]

Some notes on PWM on the Raspberry Pi

I was recently working on a project in which I wanted to drive a simple piezo buzzer attached to a GPIO pin on a Raspberry Pi. I was already using the RPi.GPIO module in my project so that seemed like a logical place to start, but I ran into a few issues.

You drive a piezo buzzer by generating a PWM signal with the appropriate frequency. The RPi.GPIO module implements PWM via software, which is tricky on a non-realtime system. It’s difficult to get the timing completely accurate, which results in sounds that are a little wobbly at best. Since I’m simply generating tones with a buzzer (rather than, say, controlling a servo) this is mostly just an annoyance.

[read more]

Systemd-nspawn for fun and…well, mostly for fun

systemd-nspawn has been called “chroot on steroids”, but if you think of it as Docker with a slightly different target you wouldn’t be far wrong, either. It can be used to spawn containers on your host, and has a variety of options for configuring the containerized environment through the use of private networking, bind mounts, capability controls, and a variety of other facilities that give you flexible container management.

There are many different ways in which it can be used. I’m going to focus on one that’s a bit of a corner use case that I find particularly interesting. In this article we’re going to explore how we can use systemd-nspawn to spawn lightweight containers for architectures other than that of our host system.

[read more]

gpio-watch: Run scripts in response to GPIO signals

For a small project I’m working on I needed to attach a few buttons to a Raspberry Pi and have some code execute in response to the button presses.

Normally I would reach for Python for a simple project like this, but constraints of the project made it necessary to implement something in C with minimal dependencies. I didn’t want to write something that was tied closely to my project…

…so I ended up writing gpio-watch, a simple tool for connecting shell scripts (or any other executable) to GPIO events. There are a few ways to interact with GPIO on the Raspberry Pi. For the fastest possible performance, you will need to interact directly with the underlying hardware using, e.g., something like direct register access. Since I was only responding to button presses I opted to take advantage of the GPIO sysfs interface, which exposes the GPIO pins via the filesystem.

[read more]

Interrupts on the PiFace

I recently acquired both a Raspberry Pi and a PiFace IO board. I had a rough time finding examples of how to read the input ports via interrupts (rather than periodically polling for values), especially for the newer versions of the PiFace python libraries.

After a little research, here’s some simple code that will print out pin names as you press the input buttons. Button 3 will cause the code to exit:

#!/usr/bin/python

import pifacecommon.core
import pifacecommon.interrupts
import os
import time

quit = False

def print_flag(event):
    print 'You pressed button', event.pin_num, '.'

def stop_listening(event):
    global quit
    quit = True

pifacecommon.core.init()

# GPIOB is the input ports, including the four buttons.
port = pifacecommon.core.GPIOB

listener = pifacecommon.interrupts.PortEventListener(port)

# set up listeners for all buttons
listener.register(0, pifacecommon.interrupts.IODIR_ON, print_flag)
listener.register(1, pifacecommon.interrupts.IODIR_ON, print_flag)
listener.register(2, pifacecommon.interrupts.IODIR_ON, print_flag)
listener.register(3, pifacecommon.interrupts.IODIR_ON, stop_listening)

# Start listening for events.  This spawns a new thread.
listener.activate()

# Hang around until someone presses button 3.
while not quit:
    time.sleep(1)

print 'you pressed button 3 (quitting)'
listener.deactivate()
[read more]

I2C on the Raspberry Pi

I’ve set up my Raspberry Pi to communicate with my Arduino via I2C. The Raspberry Pi is a 3.3v device and the Arduino is a 5v device. While in general this means that you need to use a level converter when connecting the two devices, you don’t need to use a level converter when connecting the Arduino to the Raspberry Pi via I2C.

The design of the I2C bus is such that the only device driving a voltage on the bus is the master (in this case, the Raspberry Pi), via pull-up resistors. So when “idle”, the bus is pulled to 3.3v volts by the Pi, which is perfectly safe for the Arduino (and compatible with it’s 5v signaling). To transmit data on the bus, a device brings the bus low by connecting it to ground. In other words, slave devices never drive the bus high. This means that the Raspberry Pi will never see a 5v signal from the Arduino…unless, of course, you make a mistake and accidentally digitalWrite a HIGH value on one of the Arduino’s I2C pins. So don’t do that.

[read more]

Interrupt driven GPIO with Python

There are several Python libraries out there for interacting with the GPIO pins on a Raspberry Pi:

All of them are reasonably easy to use, but the Quick2Wire API provides a uniquely useful feature: epoll-enabled GPIO interrupts. This makes it trivial to write code that efficiently waits for and responds to things like button presses.

The following simple example waits for a button press attached to GPIO1 (but refer to the chart in this document to see exactly what that means; this is pin 12 on a Raspberry Pi v2 board) and lights an LED attached to GPIO0 when the button is pressed:

[read more]